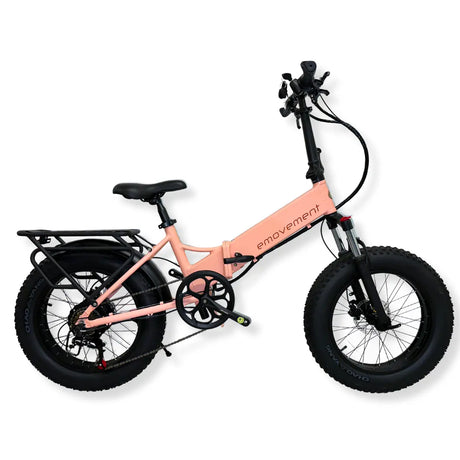
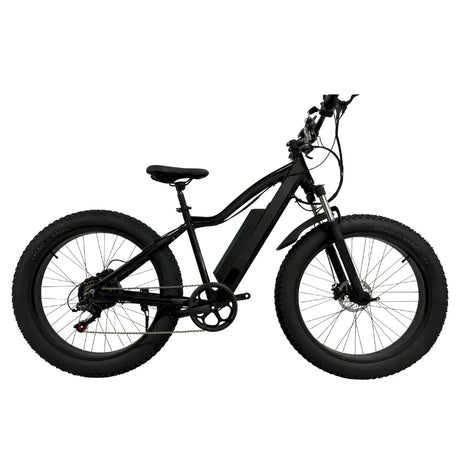
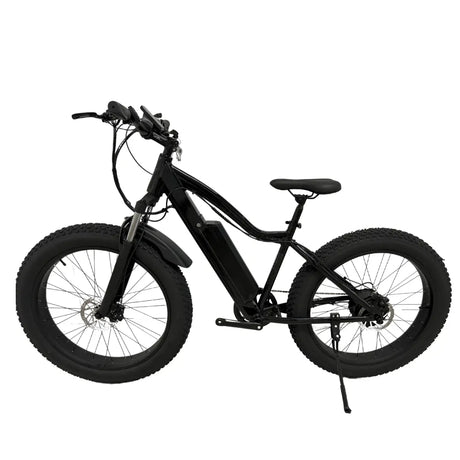
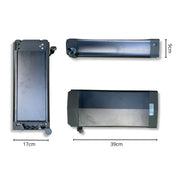
The battery is the heart of an e-bike. You’ll have to take good care of the battery to ensure your vehicle stays in top condition.
Did you know that charging the battery at the right time, right place, and for the right amount can significantly impact its health and increase its life span?
If you didn’t, now you do. So, in this beginner’s guide to e-bikes in the UK, we’ll learn about their batteries. Different types of batteries, how to charge them step-by-step, pro care tips, how long it takes and more. If you’re ready, let's get started.
Different Types of Batteries
Before diving into the process, we must understand different kinds of batteries and how do e-bikes work. There are five main types of electric bike batteries, and each has pros and cons.
Lithium-Ion (Li-ion – NMC)
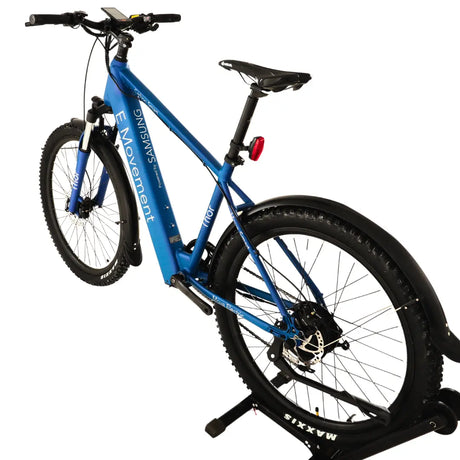
This is the most popular battery for today’s e-bikes and is commonly used in the UK. It has high energy density, is lightweight and offers high cycling life. NMC (Nickel Manganese Cobalt) chemistry is known for its power output and durability and is one of the most sought-after chemistries for high-performance lithium-ion batteries. This field is currently dominated by brands such as Samsung, LG and Panasonic.
Pros: Lightweight, long life (800 to 1000+ cycles), fast charge, high efficiency.
Cons: Costs more than old technology.
Lithium Polymer (Li-Po)
Common for high-performance or small e-bikes, Li-Po batteries are also more flexible in shape and can be lighter. But they are susceptible to charging errors and can't be carried carelessly.
Pros: Lightweight, shape can be customised, fast charging.
Cons: Susceptible to overheating, must use balanced chargers.
LiFePO4, Lithiumironphosphate
LiFePO4 is durable and safe. It is also popular in heavy-duty or cargo e-bikes. Its size and cost, makes it uncommon in consumer-grade e-bikes.
Pros: Very safe, long cycle life (1500+), stable in high temperatures.
Cons: They weigh more, are bulkier and have a higher price tag.
Nickel Metal Hydride (NiMH)
Now somewhat outdated, NiMH once stood as a step up from lead-acid. It has a memory effect and is slowly charged.
Pros: Safer than lead-acid.
Cons: Bulky, memory effect, slow charging.
Lead-Acid
It is one of the least preferred in today’s UK e-bike marketplace, outside ultra-cheap products or load carriers. They are heavy, inefficient, and have a limited lifetime.
Pros: Very low cost.
Cons: Heavy, slow to charge, low energy density, limited number of cycles.
How to Charge an E-Bike Battery Step-by-Step
Now that we know about different battery types, it’s time for a step-by-step guide. Here’s a personalised process for each:
Lithium-Ion (NMC)
Step-by-Step:
-
Switch off your e-bike.
-
If it's a removable battery, take the battery out.
-
Connect the battery to the charger and then plug the charger into the wall.
-
Allow the battery to charge until the light is green.
-
When fully charged. First, unplug from the wall, then from the battery.
Pro Tip: Do NOT use plug adaptors or super cheap chargers.
Charging Time: 3-6 hours (60% to full), based on capacity (7Ah vs 20Ah for a heavier battery).
Lithium Polymer (Li-Po)
Step-by-Step:
-
A good, individual cell monitoring, balanced charger must be used!
-
Set the battery on a fireproof surface.
-
Plug in slowly, making sure polarity is correct.
-
Monitor while charging – do not leave unattended.
-
After it reaches capacity, unplug and store it correctly.
Pro Tip: Charge the car in a garage or conservatory, but not on wooden floors or carpets.
Charging Time: 1.5–4 hours.
LiFePO4 (Lithium Iron Phosphate).
Step-by-Step:
-
Charge with LiFePO4 charger only.
-
To the battery, then to the wall.
-
Store in a dry and cool place.
-
Unplug once fully charged.
Pro Tip: These batteries are heavier – check that your frame is compatible before upgrading.
Charging Time: 4–8+ hours.
Nickel Metal Hydride (NiMH)
Step-by-Step:
-
It is recommended that the battery be at 0 charge before plugging in.
-
Charge on any compatible NiMH charger.
-
Do not let it overheat.
-
Charge to full (no need to "top up" in between).
Pro Tip: Since these batteries are outdated, swap them with a Li-ion battery.
Charging Time: 6–10 hours.
Lead-Acid
Step-by-Step:
-
Charge in an area with ventilation (e.g. shed or garage).
-
Insert it into the charger that comes with it.
-
Check periodically for any swelling or leaking.
-
Unplug when full; never overcharge.
Pro Tip: Do not use it if you live in colder conditions. These batteries do not charge well in low temperatures.
Charging Time: 8–12 hours.
Electric Bicycle Battery Maintenance Tips
By taking good care, you can extend the life of your battery and keep your e-bike running smoothly. The following tips will help you ensure you’re treating it well.
Charge Smartly
-
Don’t wait until it hits 0%. Don’t let it get lower than 20% or higher than 80%.
-
Use an original charger to prevent overcharging or powering off.
Store Thoughtfully
-
Store batteries in a cool, dry place – ideally 10–20°C.
-
Any long-term storage (ie, Winter) should be at ~50% charge.
Clean with Care
-
Never hose down your battery. Use a damp cloth.
-
Make sure the battery connectors are dry before you charge your battery.
Inspect Regularly
-
Check for bloating, discolouration or corrosion.
-
Clean terminals lightly with a steel brush or a dry brush.
Don’t Mix and Match
-
Never use a charger on a different bike or type of battery.
-
Don’t try to DIY repairs to battery packs.
UK riders dealing with rain and temperature fluctuations must note these tips and learn them by heart.
How Long Does It Take to Charge an Electric Bike?
Charging time varies by the battery's capacity and the charger's power (W). Here’s a quick breakdown:
7Ah battery: 2.5–3.5 hours
10Ah battery: 3–4.5 hours
15–20Ah battery: 5–7 hours
Lead-Acid/NiMH: 10-12 hours or more
Quality battery chargers with higher amperage (3A vs 2A) shorten charging time. Some models offer fast chargers, but may shorten battery life if used often.
The voltage in the main lines in the UK is 230v. It is reliable and charges your e-bike battery efficiently. However, make sure to use surge-protected outlets to keep fluctuations at bay. Be more particular if you live in older houses.
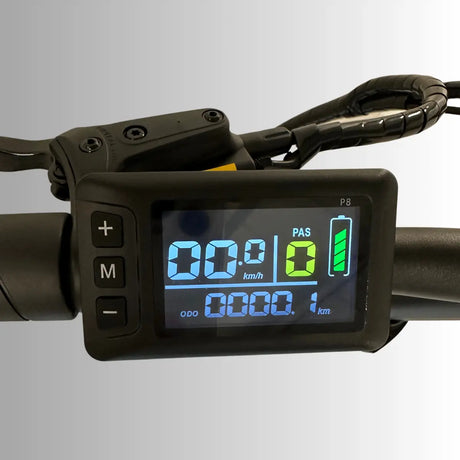
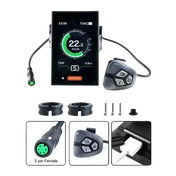
Many modern e-bikes have LED or LCD readouts to display charging, which can help you time your charges more precisely.
When to Charge an E-Bike Battery?
Knowing when to plug in will greatly extend the life of your battery.
Charge When:
-
The battery depletes below 30%, particularly after a long ride or hilly venture.
-
You schedule a ride the following day, and the battery’s less than 80%.
-
Had the bike sitting in the garage for a week or more, bump it up to 60%.
Avoid Charging When:
-
The battery is already topped up to 90–100%.
-
You have just returned from a cold ride — let it come up to room temperature.
-
It’s sweltering out — let it chill.
For those commuting to Manchester or Birmingham daily, you should charge every 1–2 days, depending on your travel distance. For weekend-warrior casual riders, probably once a week is sufficient.
Avoid overnight charging unless your charger automatically turns off and it’s surge-protected.
Conclusion
Your e-bike’s battery is more than just a machine you plug in to charge; it’s an essential element of maintenance and safety. Knowing what battery you have and charging it right, along with implementing some practical tips, will make your rides longer, smoother, and more dependable. UK riders deal with unique riding environments from wet weather to different surface terrains, and it’s crucial to look after your battery. So whether you’re weaving through traffic in London or out on a weekend adventure, a healthy battery means an e-bike remains your best friend.
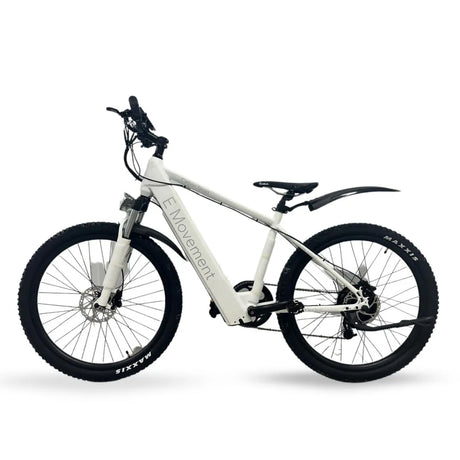
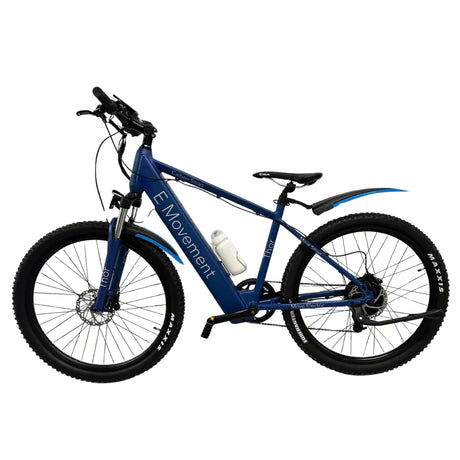
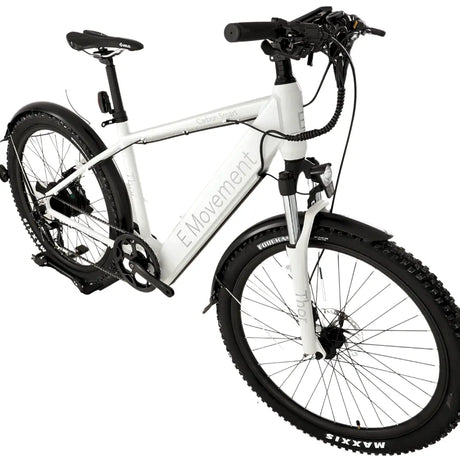
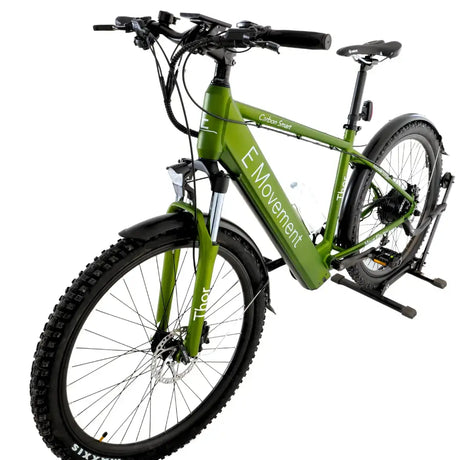
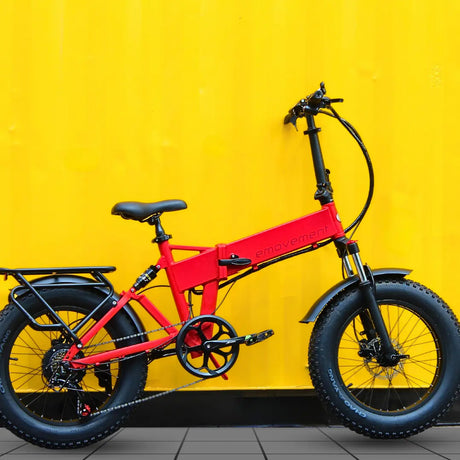
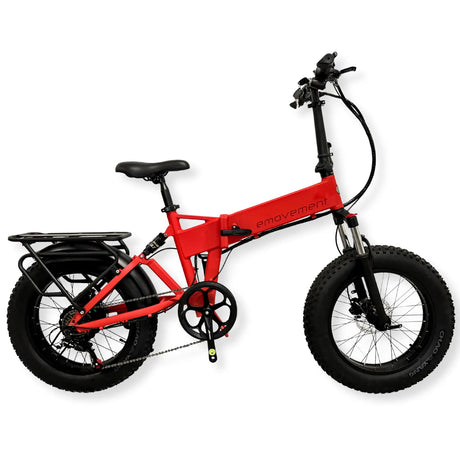
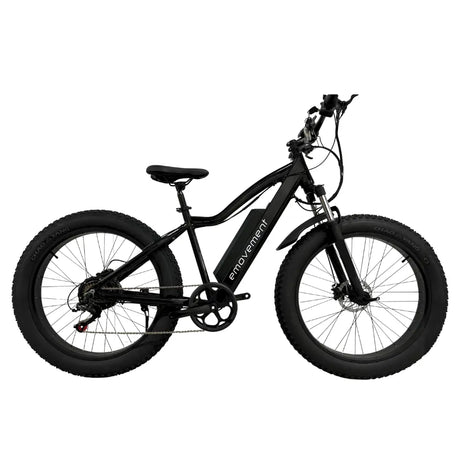
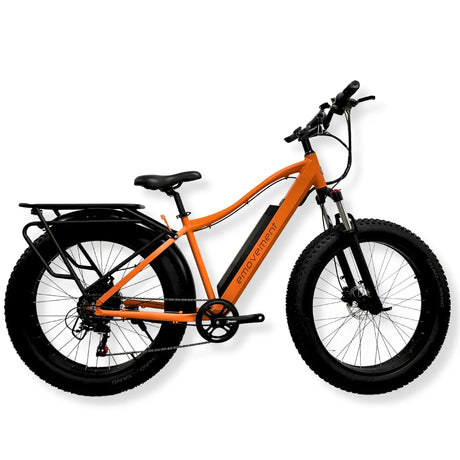
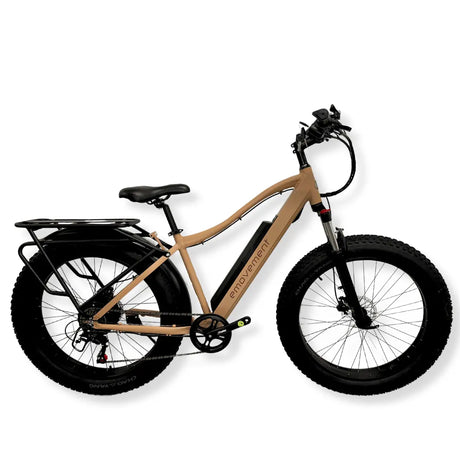
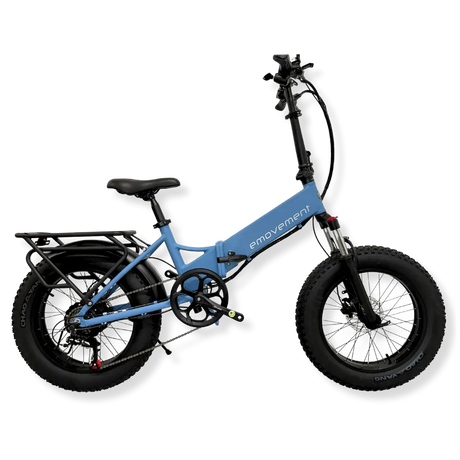
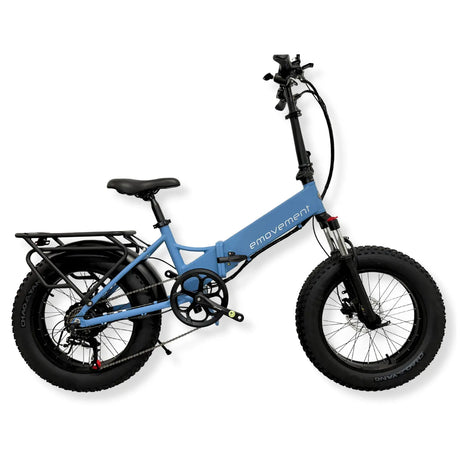
A good quality battery like E-movment’s lithium-ion batteries and following the given guidlines meticulously won’t only get you there, it’ll get you there efficiently and safely. Happy charging and enjoy that ride!