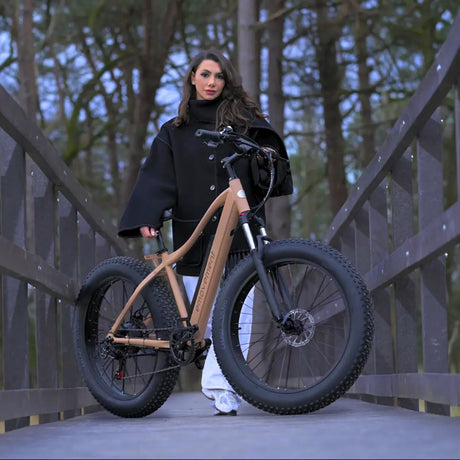
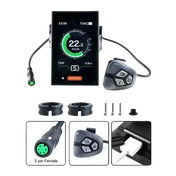
Think for a moment that you’re zipping down a leafy Surrey lane on your trusty e-bike, wind in your hair, feeling like the king of the commute. Suddenly, a cheeky squirrel darts out, and you squeeze the brakes—only for them to feel a bit spongy, like they’re having an off day. Heart in your mouth, you pull up just in time. Sound familiar? Or worse, you’ve had that moment where you think, “Blimey, these brakes are knackered—must be a dodgy product from emovement.” Hold up! We’ve heard it all before from our lovely customers, and we’re here to set the record straight.
The truth is, brake pads aren’t out to get you—they’re just doing their job, day in, day out, and like your favourite pair of wellies in a muddy field, they wear down if you don’t give ‘em a bit of TLC. No fault of the bike, just the realities of riding.
In this no-nonsense guide, we’ll talk about why your pads might be fading faster than you’d like, how long they should last, and—most importantly—how to care for ‘em so you can ride worry-free.
We’ll even walk you through a DIY swap if you’re feeling handy, and chuck in some dos and don’ts to keep your e-bike humming along. By the end, you’ll feel empowered and ready to hit those trails or town paths with confidence.
Why Your Brake Pads Are Wearing Out: The Sneaky Culprits You Might Not Spot
Alright, let’s kick off with the elephant in the room: why do brake pads seem to vanish quicker than a pint at last orders? It’s down to a few everyday factors that sneak up on you, especially if you’re bombing around Britain’s unpredictable weather. Think of your pads like the soles on your trainers; the more you pound ‘em on rough terrain, the sooner they’ll need replacing. But here’s the good news: once you know what speeds up the wear, you can tweak your habits and make ‘em last ages longer.
First up, your environment is a big player.
If you’re riding through clean, dry spots—like a crisp morning spin on pavements in Woking—your pads will thank you with a longer life. But let’s be real, UK weather doesn’t play fair. Dusty country lanes, gritty urban streets, or those inevitable muddy puddles after a downpour? They all grind away at the pad material faster than you’d believe. Sand and grit act like tiny sandpaper, while mud clogs things up, forcing the pads to work overtime. And wet rides? They don’t just make you soggy—they cause “glazing,” where the pads get a shiny, hardened surface that reduces grip and wears unevenly. Pro tip from us at emovement: If you’re in a rainy spot like Manchester or the Scottish Highlands, rinse off the gunk right after your ride to keep things fresh.
Next, your speed and riding style are massive influencers.
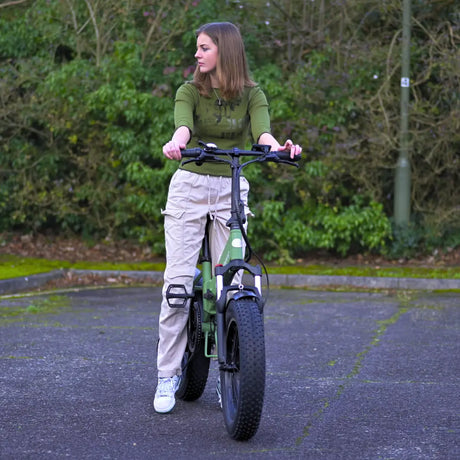
E-bikes let you hit that sweet 15.5 mph top speed effortlessly, but frequent hard stops from those velocities crank up the heat and friction—hello, accelerated wear! If you’re a stop-start city warrior navigating through traffic, or bombing downhill like you’re in the Tour de Yorkshire, your pads feel every jolt. Aggressive braking generates more heat, which can even warp rotors if you’re not careful. On the flip side, gentle, anticipatory braking (you know, easing off the throttle early) lets ‘em glide longer. We’ve seen riders clock double the mileage just by smoothing out their style. Give it a go next time you’re out!
Don’t forget moisture and those dodgy conditions.
Damp rides aren’t just miserable; they lead to rust on rotors and contamination on pads, cutting life short. Salt from winter gritters? That’s a pad’s worst nightmare, corroding everything in sight. And if you’re storing your bike in a damp garage without a cover, condensation builds up overnight, quietly nibbling away. Chat with a mate who’s ridden through a wet Welsh winter and believe us, they’ll tell you the same.
The kicker? E-bikes amp all this up because of the extra weight (that battery and motor add kilos) and the motor assist pushing you faster. It’s why we at emovement bang on about proper care. It’s not rocket science, but ignoring it turns a £10 pad swap into a headache. Fancy more on why hydraulic setups handle this better?
Check our deep dive on hydraulic vs mechanical disc brakes—it’s a game-changer for UK riders.
How Long Should Your E-Bike Brake Pads Actually Last? (Spoiler: It’s Not Just Miles)
Now, let’s talk numbers, or rather, why mileage isn’t the full story. You’ve probably heard “brake pads last 500–1,500 miles,” and yeah, that’s a rough ballpark for e-bikes. But here’s the truth: it’s all about braking cycles—the number of times you squeeze that lever—not the distance you rack up. Two riders could cover the same 1,000 miles, but if one’s a chill commuter easing to stops and the other’s a hill-happy adventurer slamming brakes left and right, guess who needs new pads first?
In clean, dry conditions with smooth riding, you might squeeze 1,500 miles (or 1,000+ cycles) out of a good set. But chuck in wet winters, off-road jaunts, or heavy loads like grocery runs, and you’re looking at 500 miles tops. E-bikes chew through ‘em quicker too, thanks to the speed and torque—studies from UK cycling forums back this up, with riders reporting swaps every 300–800 miles in gritty areas. Signs it’s time? Squeaking (that’s dirt or glazing talking), reduced bite, or pads thinner than 1mm—measure with a ruler, easy peasy.
Why does this matter? Because skimping on checks leads to that “product fault” myth we mentioned. Riders email us thinking their emovement bike’s duff when it’s just overdue TLC. Remember, pads are like your bike’s tyres—they wear naturally, and ignoring ‘em risks your safety. Track your cycles with a quick app note after rides, and you’ll stay ahead.
The Warranty Lowdown: Why Brake Pads Aren’t Covered (And Why That’s Fair)
Right, let’s clear up another sore spot: warranties. At emovement, we’re all about standing by our bikes—1-year on electrics, 4 years on frames, you name it. But brake pads? They’re consumables, mate, just like tyres or chains. They wear with use, full stop. It’s industry standard across UK cycling—no service plan or warranty covers ‘em because they’re exposed to the elements and your riding habits.
Does that mean you’re on your own? Not a bit! We reckon responsible ownership means popping in new ones yourself or via our Cycle Tech partners—it’s cheap (£9.99 for our Rambomil set) and quick. If it’s a manufacturing defect (rare as hen’s teeth), we’re on it. But normal wear? That’s on us all to manage. It keeps costs down for everyone and encourages that proactive care we love. Got questions? Drop us a line at move@emovement.co.uk. We’re here to help, not hassle.
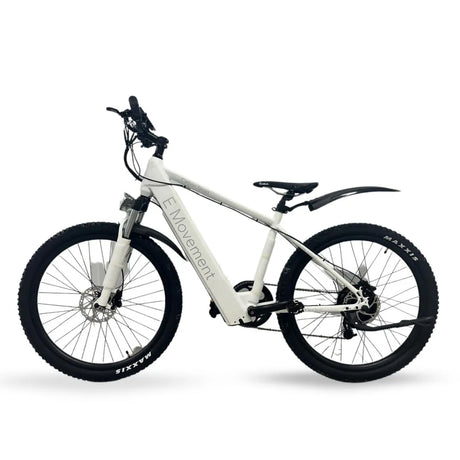
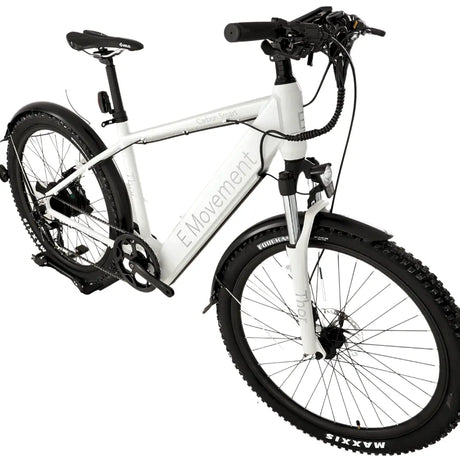
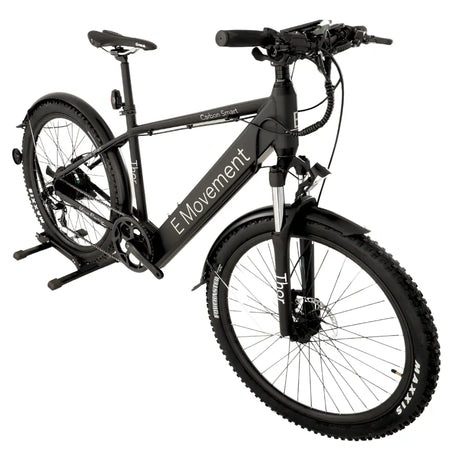
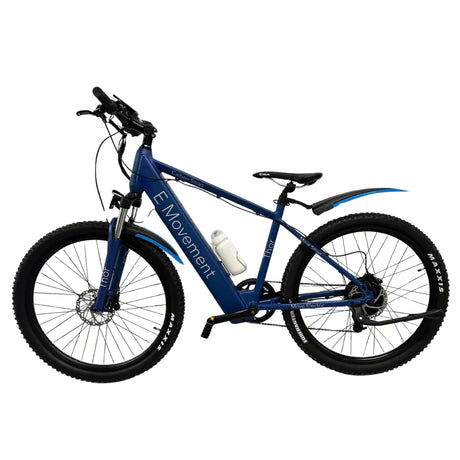
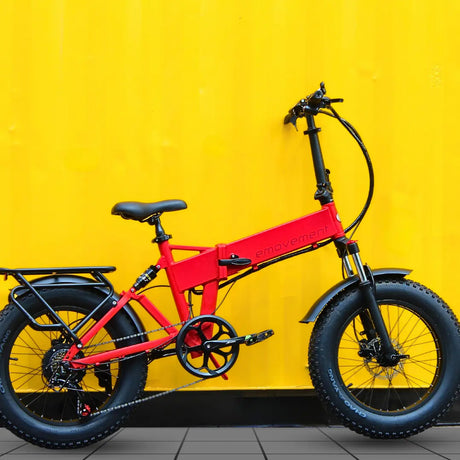
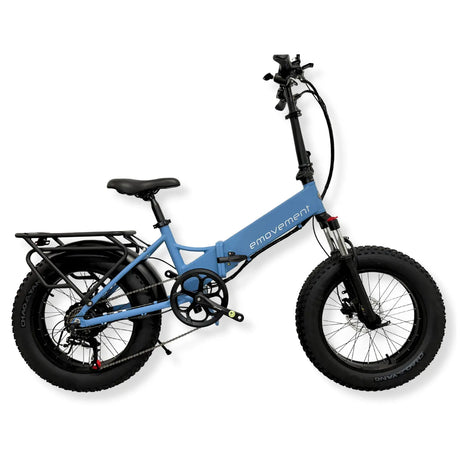
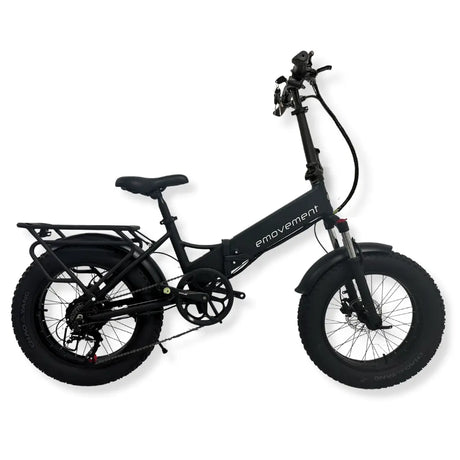
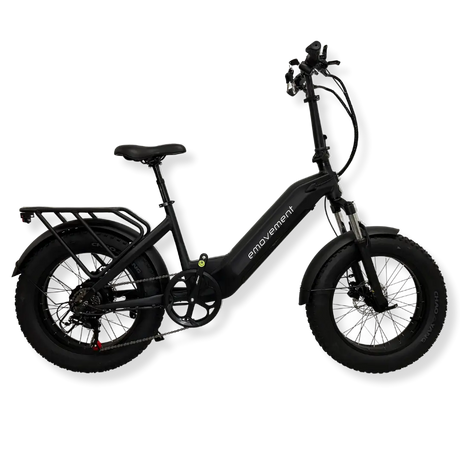
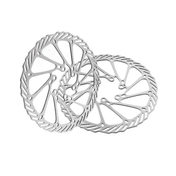
What Brake Pads Come on Your emovement E-Bike? (And Why They Rock)
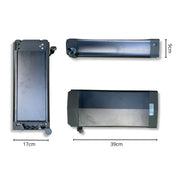
Speaking of which, let’s shine a light on what we’ve fitted to your ride. Our e-bikes—like the zippy Hunter Extreme or comfy Troy Pro—roll out with high-quality resin-based disc brake pads, blended with semi-metal and carbon steel for that perfect mix of bite and durability. These Rambomil pads are e-bike heroes: heat-resistant for those speedy descents, wear-resistant for everyday grinds, and compatible with both mechanical and hydraulic setups. They’re sturdy enough for mountain jaunts or leisure spins, and at just £9.99 a pair (that’s four pads, clips, and bolts included), they’re a steal when it’s swap time.
Why resin-based? They offer smooth modulation (that controlled squeeze) without the squeal of full-metal ones, ideal for UK’s mixed conditions. Full specs? Hop over to our Rambomil brake pads product page for the deets.
And if you’re eyeing upgrades, our e-bike parts guide on hydraulic brakes and more has you covered—upgrading to hydraulic can slash wear by keeping things sealed from muck.
Swapping Brake Pads Yourself: Your Foolproof DIY Guide (No Fancy Tools Needed)
Fancy saving a tenner and feeling like a pro? Replacing pads is one of the easiest wins in e-bike maintenance—cheaper than a coffee run and quicker than boiling the kettle. We’ve done thousands at emovement, and trust us, you can too.
Just grab our Rambomil pads, a 5mm Allen key, maybe some isopropyl alcohol for cleaning, and 15 minutes.
Here’s the step-by-step, chatty style:
-
Prep Your Bike: Park on a stand or flip it upside down (protect the saddle with a towel). Remove the wheel—loosen the quick-release or thru-axle, and pop it off. Safety first: Disconnect the battery if you’re paranoid about accidental spins.
-
Access the Caliper: Spot the brake caliper (that clampy bit near the rotor). For most emovement models, undo the two small bolts holding it in place—easy with your Allen key. Gently slide the caliper off the rotor. No forcing; if it’s sticky, a wiggle helps.
-
Evict the Old Pads: Open the caliper (there’s usually a clip or pin—pop it out). Slide the worn pads free. Give ‘em a once-over: Thin as a credit card? Yeah, they were due. Wipe the pistons clean with isopropyl (not water— it rusts!) to avoid gunk transfer.
-
Welcome the Newbies: Slot in the fresh pads—ensure they’re oriented right (check the manual; usually the curved side faces the rotor). For resin ones like ours, no bedding-in drama yet. Reassemble: Clip shut, bolt the caliper back, and reunite with the wheel. Tighten everything snug but not Hercules-level.
-
Test and Bed In: Pump the brake lever a few times to seat the pads. Spin the wheel—should stop sharp without rubbing. Head out for a gentle test ride: 10–20 progressive stops from walking speed to build that friction layer (bedding in). Avoid hard yanks at first, or you’ll glaze ‘em early.
Done! If it’s hydraulic and feels spongy post-swap, a quick bleed might be in order—our maintenance manual has tips, or pop to a local shop. UK riders, remember: Clean rotors with alcohol wipes post-install for peak performance.
Your Ultimate Guide to Caring for E-Bike Brake Pads: Dos, Don’ts, and E-Bike Specifics
Right, you’ve got the basics—now let’s level up with a proper care blueprint. This isn’t stuffy manual speak; it’s the straight talk to keep your pads (and bike) thriving through rain, shine, and everything in between. We’ll split it into dos and don’ts, then zoom in on e-bike quirks. Follow this, and you’ll dodge 90% of woes.
Dos: The Smart Moves for Long-Lasting Pads
-
Inspect Weekly: Before every ride, give ‘em a eyeball—pads over 1mm thick? Rotors shiny, not grooved? Levers firm? Takes 30 seconds, saves hours.
-
Clean Religiously: After wet or muddy rides, spritz rotors and calipers with isopropyl alcohol (grab from any pharmacy). Wipe pads gently—no sandpaper unless glazing’s bad. For e-bikes, rinse the whole frame with a damp cloth to stop grime migrating.
-
Bed In Properly: New pads? Do those controlled stops in a safe spot—builds even wear and killer grip.
-
Store Smart: Keep your bike dry and covered—garage hooks are gold. For winter, a dehumidifier bag wards off rust.
-
Pair with Upgrades: Wider tyres for better traction mean less brake reliance—check our tyres and suspension upgrades guide. Hydraulic? Bleed every 6 months for sealed longevity.
-
Ride Smooth: Anticipate stops, use both brakes (front 70%, rear 30%), and ease off the motor early—cuts cycles by heaps.
Don’ts: The Pad-Killers to Swerve
-
Ignore Noises: Squeaks? Grinding? That’s your cue—dirt or wear screaming for attention. Don’t ride on; pull over.
-
Skimp on Cleaning: Water or household sprays contaminate pads—stick to bike-safe stuff, or you’ll glaze ‘em solid.
-
Over-Brake in Heat: E-bikes overheat rotors on long descents—cool down with light spins, don’t ride ‘em hot.
-
Mix Materials: Don’t slap metal pads on a resin setup—mismatch kills performance and rotors.
-
Forget E-Bike Weight: Don’t overload without beefier pads—extra cargo amps friction.
-
Delay Swaps: Riding thin pads warps rotors—costly fix. Spot ‘em at 1.5mm and act.
E-Bike Specifics: Tailored Tips for Your Electric Ride
E-bikes aren’t your gran’s push bike—they’re heavier, faster, and thirstier for maintenance. That motor assist means more momentum, so pads take a bigger hit. Focus on:
-
Battery Tie-In: A full charge adds weight—balance loads front/rear to ease braking strain.
-
Regen Braking (If Fitted): Some models like our Panther V4 use motor regen to slow you gently—activates it in settings to save pads.
-
Winter Warriors: UK winters? Swap to semi-sintered pads for wet grip, and check monthly—salt eats ‘em alive.
-
Off-Road Tweaks: Fat-tyre models? Clean extra—mud doubles wear. Our Raven EMTB riders swear by weekly wipes.
-
Pro Check-Ins: DIY most, but if hydraulic and spongy, book a bleed via our network—£20 well spent.
Tie it all to your full e-bike care: Pump tyres weekly (better traction = less braking), lube chains monthly, and charge smart to avoid deep discharges. Holistic TLC, see? Your emovement bike’s built for it.
Ride Smarter, Not Harder
Whew, that was a proper natter!
From spotting wear factors to DIY swaps and those golden dos/don’ts, you’re now armed to keep your brake pads—and your adventures—going strong. Remember, it’s not about fault-finding; it’s about that shared joy of electric freedom. Ditch the myths, embrace the care, and let’s make every ride epic.
Spotted wear already?
Grab our Rambomil pads here or chat service@emovement.co.uk—we’re your mates in Woking, ready to sort it. Fancy hydraulic upgrades for less hassle? Dive into our comparison.